The Labyrinth |
|---|
 |
|
The Labyrinth continues to collapse, causing abnormal aberrations to appear on other worlds. |
The Labyrinth is a Location in Remnant 2. The Labyrinth is one of many worlds that can be explored in Remnant 2 and is a returning world from Remnant: From the Ashes. Each Location in Remnant 2 will feature unique landscapes, events, dungeons, Bosses, Enemies, and Items.
All Areas in Remnant 2 The Labyrinth:
The following Checkpoints can be found within The Labyrinth:
- Fractured Ingress
- Entangled Gauntlet
- Colosseum of Ruin
- Inner Sanctum
All NPCs and Merchants in Remnant 2 The Labyrinth
All Items in Remnant 2's The Labyrinth
Armor
- ???
Amulets & Rings
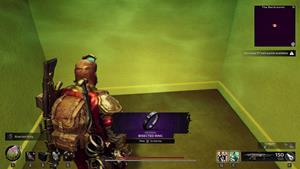
- Bisected Ring - Labyrinth Backrooms event
- Dense Silicon Ring
- Encrypted Ring
- Energized Neck Coil
- Gunfire Security Lanyard - Labyrinth Backrooms event
- Shard Banded Ring
Quest Items
Relic & Relic Upgrades
- Runed Heart
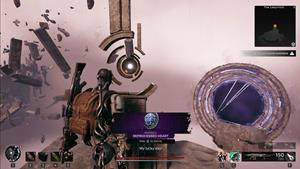
- Reprocessed Heart - Event
Consumables & Materials
- Conflux Prism
- Iron
- Cipher Rod
- Strange Box - Labyrinth Backrooms event
- Tome of Knowledge
Mutators
- Vengeful Strike - Dropped by Bastion at the Bastion Event
Weapon Mods
- Cube Shield - Dropped by the Labyrinth Sentinel.
- Chaos Driver - Found in The Labyrinth. You can see how to find it below.
Remnant 2 The Labyrinth Enemies, and Bosses
Remnant 2 The Labyrinth Quests
- ???
Main Story The Labyrinth Walkthrough
Players gain access to The Labyrinth once they complete their first world.
Energy Event
You will find an energy ball floating above an altar, shoot it to start the event. The Energy ball will become brighter and all kinds of Golem enemies will appear. As you defeat them, you will notice the ball starting to be surrounded by rocks. You will have to endure the coming hordes of golems until you face an Elite Golem. Once you are done with the waves of enemies, the energy ball absorbs all surrounding rocks and explodes, finishing the event. You get the Amplitude trait for completing the event.
Completing the event also opens up a door in which you will find the Master Portal Key.
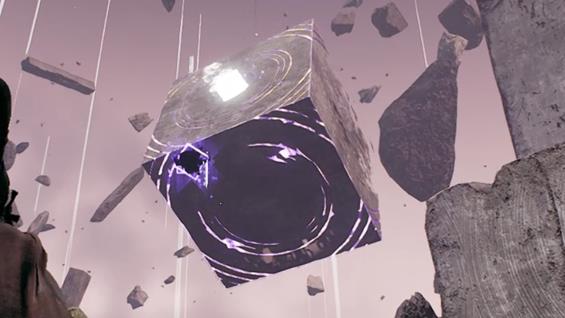
Continue exploring until you find another altar, this time you can interact with it. Use the Master Portal Key to create a new path. Move forward and you will find the Labyrinth Sentinel, a boss that is composed of many squares. It has to be damaged on the glowing energy area, just like Golems.
Boss Battle: Labyrinth Sentinel
There will appear many versions of the boss in the battlefield. Four of them will be in the air, shooting ranged attack from there, and three more will "roll" on the ground. Not all the six faces of the dices have an energy weak spot to blow up.
Players have to be aware of the ranged attack from the flying squares, but also pay attention to the pattern the squares on the ground form to avoid being crushed to death by them. Being crushed means instant death.
If you are crushed by a die that has a broken side, you will be able to stay there without suffering damage.
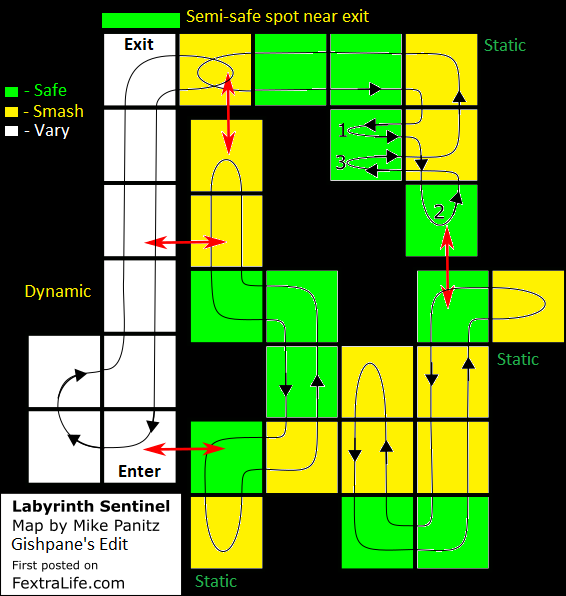
The following map shows the layout of the boss fight arena, and includes the paths of each of the four cubes that are rolling around on the ground. The squares are not visible while playing, but you can figure them out by watching the cubes move. The squares marked in green are always safe (as long as you stand inside the gap left by the broken side of a die). The double-ended red arrows indicate gaps that you can jump across.
Defeat it to earn:
- x6 Lumenite Crystal
- Scrap
- x1 Tome of Knowledge
- x1 Conflux Prism
You also earn the Achievement/Trophy Gleaming the Cube.
After the fight, keep moving and you will reach the Inner Sanctum Checkpoint. Continue towards the stairs, you will find a glowing ball that is actually a giant eyeball. Clementine is also here. You will receive the Biome Portal Key after the cutscene.
The Labyrinth Events and Secrets
The Labyrinth given its unpredictable nature, and hidden routes has many secret passages that lead to items and loot.
Secret Passage - How to get the Labyrinth Staff & Vengeful Strike
Head to the upper side area of one of the Checkpoints, you will face a few Golems there.
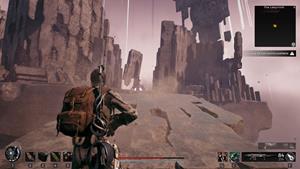
Reach the edge to watch the following crumbled area. Jump there and a bridge will form.
Continue moving forward. Wait until a disc will form as a bridge to the next area. Traverse it as soon as it appears because it won't stay forever.
Here you will face an Aberration called Bastion.
Defeat it to obtain Scrap, Iron, Vengeful Strike and x2 Corrupted Lumenite Crystal. Behind the spawn location of Bastion, you will find the Labyrinth Staff supported by an altar.
To get back, simply fall on the ground in the middle of the area and take the portal.
Secret Passage - How to get the Energized Neck Coil
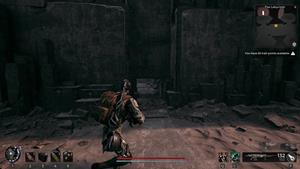
From the Fracutred Ingress Checkpoint, take the stairs on the side and move towards the are with the two giant statues. Some Enemies will spawn.
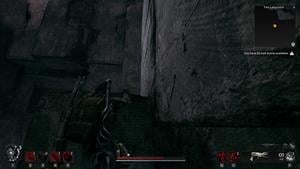
There is a small gap between the two areas with portals, crouch there.
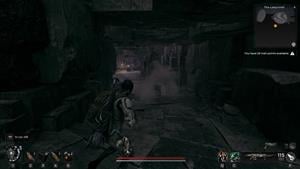
Fall down, and turn back to enter the cavern-like structure.
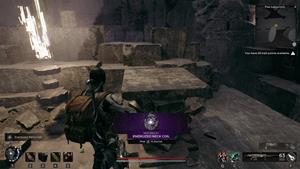
Continue moving to find the Energized Neck Coil
Secret Passage - How to get Cipher Rod
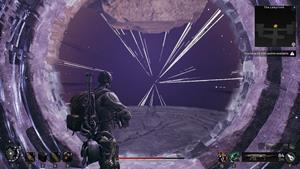
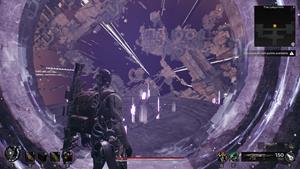
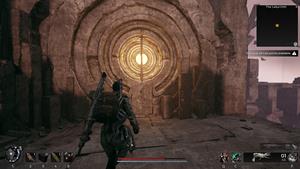
Get to this portal and wait until it shows the scenery seen in the following image. Once it does go through it
You will fall on a bridge and move forward to the next area.
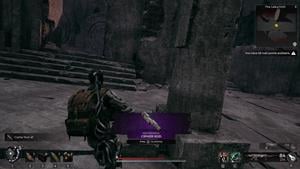
You will reach an area with enemies in which you can find the Cipher Rod at the base of a statue.
Secret Passage - How to get Reprocessed Heart
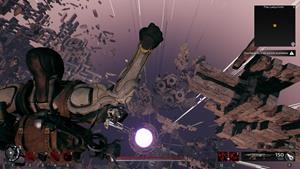
Get to a portal that swaps destination and wait until the portal is pointing down to another portal below.
You will have to time right, aim for the edge of the next portal as the fall takes a little, otherwise, you may miss or hit the edge and die.
If you aim correctly, you will go through the second portal, keeping your inertia to reach a floating rock where you can find the Reprocessed Heart.
Secret Passage - How to enter the Labyrinth Backrooms and obtain
While traversing The Labyrinth, players may reach this corrupted door. It can only be opened if you are Corrupted.
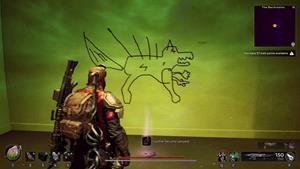
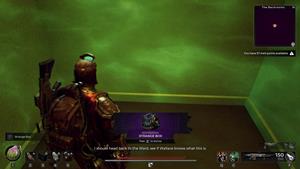
As you enter, you will notice that the place looks like an office. There are no Enemies, nor Bosses here. Not even puzzles to solve. This is a timed event in which you have about 90 seconds to find three items inside. These items are: Strange Box, Bisected Ring, and Gunfire Security Lanyard
How to access Leto's Stash
- Finding it unlocks the Trophy/Achievement, The Agenda
- Players have to have the Biome Portal Key in their inventory in order to be able to reach Leto's Stash
Leto's Stash can be found in Ward 13, but players have to be on The Labyrinth in order to access it.
From the Fractured Ingress Checkpoint, take the stairs to the right.
Enter this path.
Continue though this makeshift bridge
Turn and continue towards the Portal
Instead of entering the portal in front of you, pass to the side of it, and look down to jump through the portal below.
Enter another portal to the left.
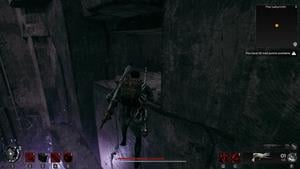
Enter a small passage to the immediate left.
Turn left again and get ready to do some parkour to climb the wall you just came through with a series of jump, first jumping across the the right, then up, and back across to the left.
Crouch to pass through the short passage back to the area with the portal.
Once you are on the other side, turn right and climb.
Jump to the other side, landing on a platform just behind the portal you arrived through.
Crouch through the gap until you emerge on the other side, and reach this door. You have to use the Biome Portal Key to open it.
Enter the door and you will be in Ward 13.
Here you can find a journal written by Leto, and the Chicago Typewriter.
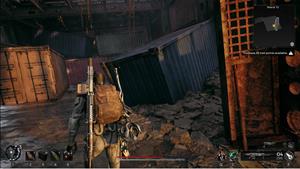
Leto's Armor Set can also be found inside a blue cargo container in the area.
Remnant 2 The Labyrinth Gallery and Notes


I've found one of the biome portals that is closed off with red glitch energy. It doesn't have ??? over it on the map, just a blank nameplate. Anyone found anything on this?

 Anonymous
 Anonymous
I just noticed two floating burning sword above the bridge just before the first world stone, I never noticed them before. Does anyone have any clue if there is some secret behind this or what they are pointing at? I tried jumping of the bridge at both spots on the side they are facing, but I just died.

 Anonymous
The Colosseum of Ruin area is bugged for me when I came back after beating the level, the orb is there floating and out of curiosity i shot it and it started a fight but no enemies.
So I suicide and ended up at the stone again, but the orb the fight creates is still there but another smaller orb respawned for me to shoot.
So when I shoot it from the outside it created a boss room but I can't enter... LOL.
 Anonymous
Secondary archetype info is incorrect, you get it from acquiring 10 trait points and having the corresponding item in your inventory.

 Anonymous
Behind one of the portals you can drop down into one floating below, leads to a seemingly dead end but you can climb the walls and eventually crawl through a space that leads to a biome gate. Will teleport you into a ship where you can get the Chicago Typewriter and the Leto Mark II armor set.

 Anonymous
Interesting little knowledge, go to the Leto's Stash route before dealing with Labyrinth Sentinel, you can steal a block first

 Anonymous
Completed Energy event, get Amplitude trait. Door not opening, can't get Master Portal key.

 Anonymous
 Anonymous
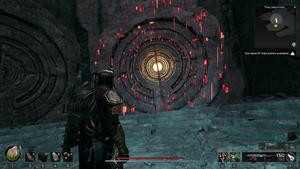
i wonder if the Labyrinth armor set is behind the red root glitch door

 Anonymous
waiting on someone anyone to just simply start speculating on the gate that can't be opened, with the red energy barrier on it
so i know i'm not the only one who has found it
thought maybe if i returned after finishing earth but no go
 Anonymous

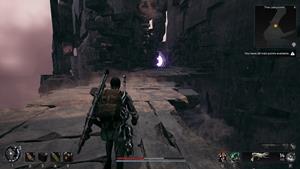
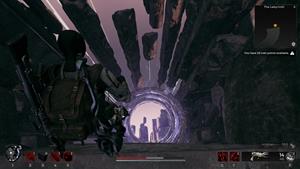
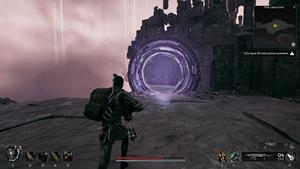
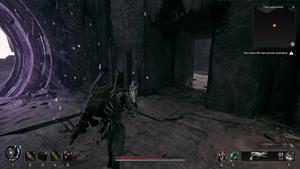
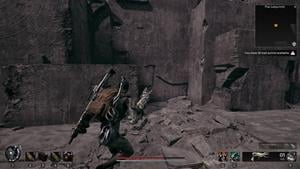
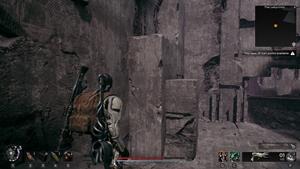
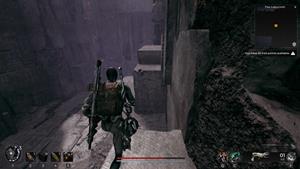
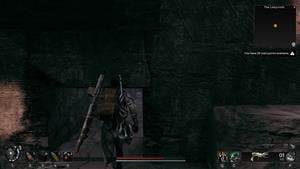
The worst area in the entire game.
0
+15
-1