The Lament |
|---|
 |
| And so, here, in this pages I write the tales of those my great mystress loved... |
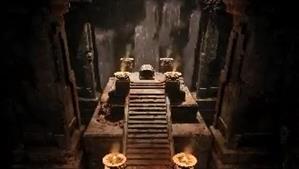
The Lament is a Location in Remnant 2. The Lament is a location full of traps and rewards and one of the many areas that can be explored in Yaesha. The Lament Remnant 2 Puzzle Guide: read on to figure out how to solve this location puzzle. Each Location in Remnant 2 will feature unique landscapes, events, dungeons, Bosses, Enemies, and Items.
Remnant 2 The Lament Items
Items exclusive to The Lament are as follows:
- Kolket's Razor - dropped by Wither
- Overdrive - dropped by Wither
- Red Widow Set - found within the Red Widow's coffin
- Ring of Diversion - found within Kolket's Tomb
- Blood Tinged Ring - found on the balcony overlooking the Red Widow's coffin
- Lodestone Crown - found hidden inside Kolket's Tomb
Randomly placed within the location will also be the following:
- 1 Tome of Knowledge
- 1 Ring or Amulet from Yaesha's random loot pool
Injectible Events
Locations in Undead Crypts will randomly contain one of the following rooms:
Remnant 2 The Lament Enemies
Enemies in The Lament are as follows:
Remnant 2 The Lament Bosses
Bosses in The Lament are as follows:
Events and Secret Passages in The Lament Remnant 2
Events and Secret Passages in The Lament are the following:
Remnant 2 The Lament Walkthrough
You will have to go through several traps to find the rewards in this location
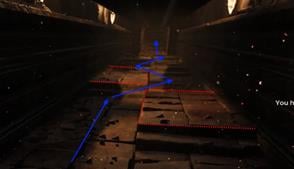
The very first is required to even enter the location: a winding corridor with several segments with arrow traps covering their length. Each corner and halfway point changes the direction from which the arrows come.
The traps in the first two segments consist of holes on both ends of the passage, it alternates one half of the way and then the other. It is enough to crouch underneath the arrows, though with good enough timing you may also alternate between side and sprint through.
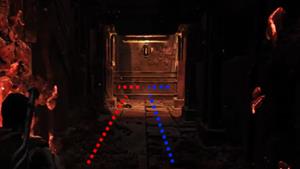
The third and final segment increases the difficulty, placing several barriers along its length, which also have arrows firing down from above. Time your actions with both traps, and vault over the barriers.
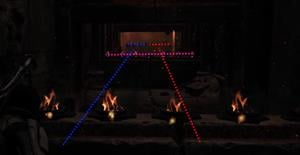
Once through the corridor, you must pull a lever to open the locked door, in the process also opening a shortcut through the arrows.
The door leads to a room with several podiums with mummies underneath shrouds, each with a rune displayed above them. At the far end, you will find a book, telling the tales of Tethys, the Red Widow buried in this location. More importantly, it displays a colored symbol on its first page, matching some of the Shrouds, thus giving the solution for the Consort's Puzzle. Remember the relevant symbols, then traverse through the location through a path towards the left.
Once you've circeled around to the upper section of the first room, you will find more bodies with symbols, as well as a rune dial. Lock in the correct symbols to unlock the door, enter to find a checkpoint.
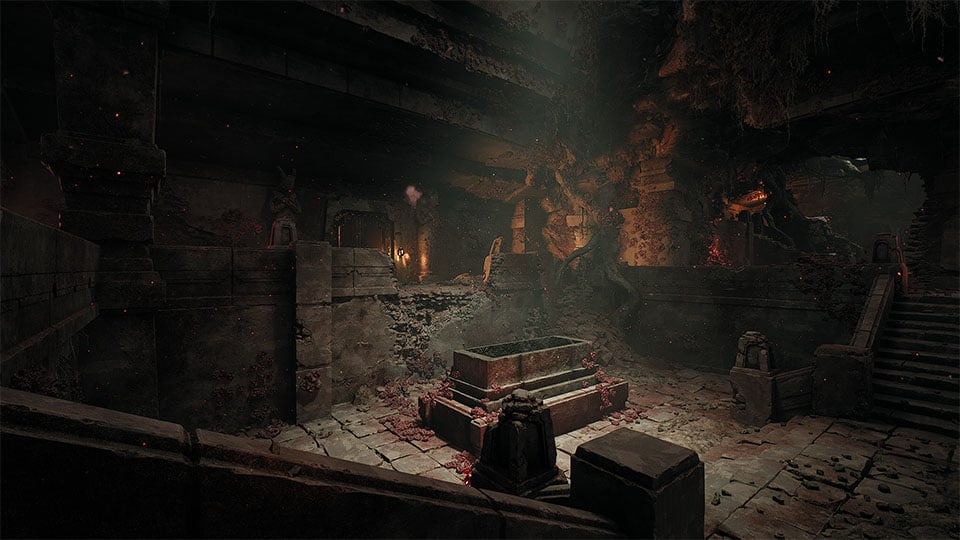
The Red Widow's Coffin
Contained in the room are two coffins, one of which might contain Wither, an Aberration of a Root Slasher. Defeat it to acquire the Mutator Overdrive, as well as Kolket's Razor. If you do not find Wither here, look for it inside another coffin present in the map, maybe in a injectible event.
The balcony at the far end of the room yields the Blood Tinged Ring, as well as a view on the Red Widow's coffin. Jumping down from the balcony is lethal, so return to the checkpoint and destroy a number of pots on the walls in the side to uncover a hole.
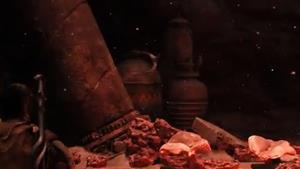
This leads down into a corridor with a locked door at the end, requiring the Supply Closet Key. To find it, enter the water on the other end of the room and crouch through a hidden passage.
Through the unlocked supply closet, you will reach another corridor. The peace is treacherous, with numerous moving saw blades revealed by a pressure plate. Hesitation can be costly, but it is possible to weave through by deviating from the saw blades that move vertically on the center and avoiding the lateral ones.
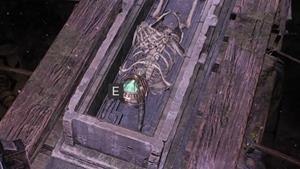
Success leads you to the Red Widow's coffin, where you will find the Red Widow Set.
Kolket's Tomb
Leaving the Red Widow's tomb and going through another door leads back to the second level of the arrow room. Here you can follow a path on the left to find another puzzle:
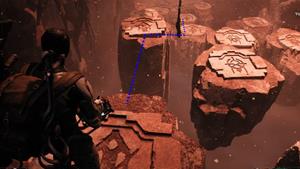
The way forward is marked by the symbol on the first platform, it will repeat in the following platforms and those that have the same symbol are connected by an invisible bridge.
If you're unsure of where the invisible bridge might be, aim down at the floor. Your reticle should show when a physical object is too close, showing where your projectile will hit the invisible bridge.
The door at the end is opened by Kolket's Key that you get from inspecting the Kolket's Razor in your inventory to transform it.
Inside the room are several coffins, one of which contains the Ring of Diversion. Hanging above is a boat, which you can climb over a set of stairs hidden behind an illusionary wall next to the door.
Drop down to find the last resting place of King Kolket, his body wearing the Lodestone Crown.
Remnant 2 The Lament Gallery, and Notes
- Other Notes for The Lament go here
 Anonymous
Equipping the black cat band and challenger prime perk makes the corridor before the red widow set a breeze.

 Anonymous
 Anonymous
The most unsatisfying experience ever... Nothing wrong with the design just me barely ever solve any hidden/puzzle in Remnant 1&2
1st arrow trap died a few times to learn crouching is safe. No idea how to do the consort's puzzle. Decide to go pillar trap site 1st.
Frustrated with jumping pillars never managed to get to even the 2nd one. Google for hints to find out invisible bridges exist.
Still die a few times. To find out I had to do Consort's puzzle 1st. Gave up figuring it out myself and looked for guides.
Got in. Good thing I try not to look further to spoil myself so I got jump scared by the thing.
Then in the room, I felt that there was likely to be a hidden path somewhere. Try roll and shot and weapon skills. Didn't trigger the wall. Check the guide again and there is a hidden wall. And then the saw blade trap. I totally forgot I was leveling Challenger Archetype. So I accidentally Die Harded the saw puzzle without figuring it out.
Felt so messy and unaccomplished
 Anonymous
Man they did not playtest this dungeon and shipped a steaming pile of **** of a map.

 Anonymous
Just confirmed as of day of DLC release date, you can just use Invader Worm Hole skill to skip over the saw blade activation stones

 Anonymous
In the floating pillars if your to lazy to find the symbols on each pillar just use the krell axe or hunter spear and throw it on the floor, if there is a invisible path the axe will stick on it

 Anonymous
Found Vengeance Idol in The Lament, was on a random corpse inside the dungeon

 Anonymous
In the maze with the arrow trap, you can just prone all the way, the arrows won't hit you... well, most of the time.

 Anonymous
Stand right on top of the statue. After a couple of seconds it will try to grab you even if you are staring at it. Roll back and you'll have time for a few shots.

 Anonymous
If you want to kill the statues easily get them fairly close then quickly look so they are just off your screen and flick back to shoot the crystal. Repeat till dead.

 Anonymous
You can fairly easily kill the statues that move when you look away: let them get kinda close, turn like 90 degrees, aim your gun, then quickly turn back and pop a shot off on their gem, rinse and repeat.

 Anonymous
in the lament behind the coffin hidden door, I got a necklace of flowing life and a tomb dweller's ring

 Anonymous
I can confirm that it IS possible to kill the statues that only move while you aren't looking at them, but I was only able to accomplish it thanks to a bug/exploit. When I came back up from the pit with the Signet ring, a statue appears on the main floor of the Lament and begins following you. I got it to follow me all the way to the secret door where you find Kolket's Razor, at which point he got stuck in the doorway. The game did not register that I was looking at him, so he kept trying to move towards me, keeping his "eye" vulnerable even while I was aiming right at it. Since he was also stuck in the doorway, I was able to just lay into him with my longarm. For something so fast and capable of a one-hit kill, he had a LOT of HP. I have no idea how I'd kill one in a "fair" fight. Like the guide says, he only drops a shard fragment. It's satisfying to take one down, but he doesn't drop any loot you can't get from a treasure chest or elite.
I spent a WHILE trying other things and could not hurt it at all. I tried spinning around real quick and firing at his face while he was stopping and *definitely* him him square in the glowing gem to no effect. Getting him to walk through a persistent AoE effect, did not work either. You apparently have to hit him in the eye while you "aren't" looking at him. Maybe they're meant to be killed in co-op?
 Anonymous
is there a way to throw yaesha into nerud's black hole? just asking

 Anonymous
It's called The Lament because it's a tribute to the last good Indiana Jones movie.

 Anonymous
I have gotten Lament 3 times and it has always been the same, except for the coffin you get Kolket's Razor in is random across any coffin in the dungeon, the tomb before the floating pillars didn't generate every time, and the consort puzzle password changes. I did not get the four statues

 Anonymous
Lament is guaranteed to drop Necklace of Flowing Life from the "event" which is going through the traps. There are three events for Lament. The third event is found in small coffin room with trapdoor.

 Anonymous
It doesn't say this anywhere on the page, but the mob spawn for the kolket's razor / kolket's key is random. There is 2 chest you open before the last checkpoint, 1 has a chance to spawn the mob.

 Anonymous
I was able to use the Worm Hole skill from the Invader archetype to teleport past the saw blades.
It has 2 charges and you can press and hold the key to choose where it will teleport you.
 Anonymous
Space crabs mod works wonders to find the hidden path on the pillars near the end. Just shoot the crabs onto the far platform then pay attention to which path they take to get back to you.

 Anonymous
The 4 Blue Crystals event happened in the Twisted Chantry for me

 Anonymous
This is best dungeon that gives us a lot of "Indiana Jones" vibes.

 Anonymous
The floating pillar room can be solved through a document found somewhere on Yaesha, in my case it was in another dungeon (Endaira's End) with a description of 3 separate symbols (Beginning, Calamity, Blood Moon) and some cryptic text. In the end I had THE BEGINNING and had to follow the symbols of life, e.g. the doe... at least that's what I figured.
Far easier is to just cheese the puzzle by shooting at the air between pillars, as the invisible bridge has bullet collision!
 Anonymous
The statues move when you dont look at them, dont need to turn your back to them either, just move the aim. As for the btraps, the first corridor is easy to move around, the second is the problem, use the Cube Gun mod, it absorbs everything till you get to the third corridor. Another thing that helps is the Cat ring, if you have it use it. As for the saw trap on the final corridor, use your best armor, moon ring, and other dmg mitigation and you can just run past it avoiding the main saws.

 Anonymous
The floating pillars are not connected by an invisible bridge

 Anonymous
 Anonymous
The statues / crystals event is not specific to Lament, can also spawn on Twisted Chantry

 Anonymous
Weeping angels were in Twisted Chantry in my Yaesha. Shoot them with cube gun and flick 90 degrees to activate dmg

 Anonymous
i cant find the dungeon at all, can someone try to guide me with some references to follow?

 Anonymous
with the amount of secrets in this dungeon alone it could really use a message system instead of making everyone looking up online

 Anonymous
I also found a berserker's Crest (ring) in this dungeon after jumping into a coffin that fell led me down a set of stairs into a flooded room. The ring was behind the stairs to the entrance.

 Anonymous
 Anonymous
The saw puzzle is really easy. You don't have to wait at all for any of them. As soon as you activate it, wait for the big middle saw on the left to move away from you, run after it, move to the right to dodge the next one, then after that one move to the left. You can just sprint down the center and weave between the middle saws. Simple as that.

 Anonymous
Fun house here we go...bring a pillow were gonna spend the night here.

 Anonymous
 Anonymous
Inside one of the side rooms there's a coffin that you open and it spawns an Aberration. After you beat that in that room there are 3 pots next to a corner. Behind them is an illusory wall you can walk through which has several things. Necklace of Overflowing Life and Tomb dweller's ring are the two I remember.

 Anonymous
If the wither doesnt spawn normally go to the large coffin with and open top, run up on the ledge and jump into it, there's a passage there which leads to 2 mini bosses including the one for the key. after you beat the first one open the coffins one of them should spawn the wither.

 Anonymous
Worst dungeon in the game and bad design. I went through all of it and it did not even spawn Wither, which made it impossible to open the last door without the key. Forcing me to parkour through that horrible parkour section just to end up not having the key without knowing it until the end. I had to search up where to get it, only to find out this boss never spawned.
Thanks for wasting my time.
 Anonymous
 Anonymous
Small tip for saw puzzle : Ward 13's Reggie might sell Black cat ring, which grants one protection from death. Equip it, and once you get halfway just run or roll through second saw.

 Anonymous
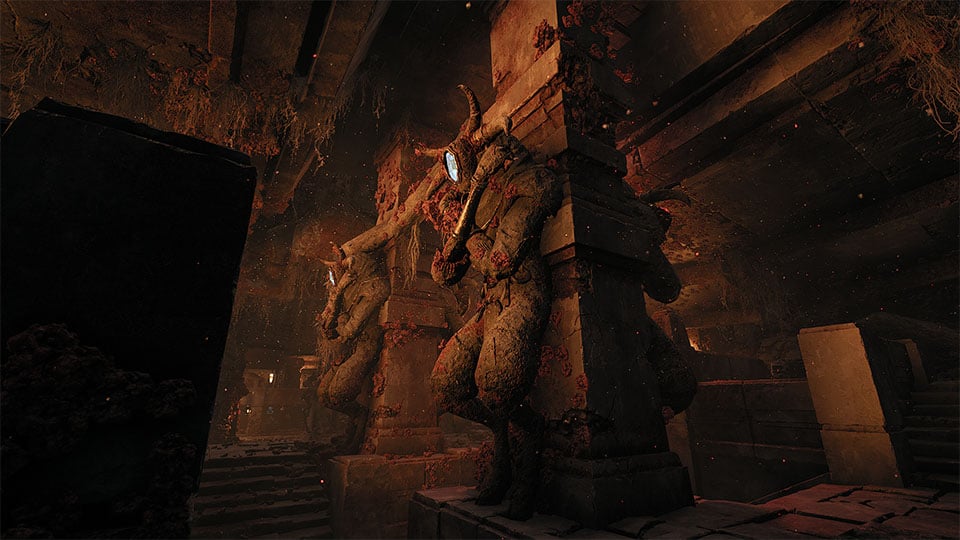
There is a room in the dungeon with four statues with blue gems on their heads. Shooting the gems reveals a staircase that leads to an elevator you can take. At the bottom of the elevator, there is a room with an item in it and a lore book.
Be careful, I believe after you grab the item or read the book some of the statues in the elevator room and the chest room come to life and will attempt to kill you. To defeat the statue you must look away and let the statue come to life once it starts to move look back at the statue and quickly shoot the statue before it returns to its normal state. Weakspot on the statue is the blue crystal on their head.
 Anonymous
there is a secret path in the floating pillar room wih begin with the centrale and all same pillar

 Anonymous
challenger self-revive+invulnerability prime perk is really useful for the instakill trap sections, 100% recommend quickly switching to it for them, just ran through it all like an idiot lol

 Anonymous
 Anonymous
Do not crouch-walk through the saw puzzle, that's the dumbest thing I've ever read and cost me 30 minutes/11 deaths of retrying the puzzle. Stand up and RUN between the middle saw blades. Crouch walking is just going to get sawn in half from behind by the saw as it returns on it's weird pattern. Stay near the middle and GO.
Scavenger's bauble is also not found here. Explored the dungeon fully, no sign of it, not sure why it's listed on loot.
 Anonymous
There is a locked interactable door turn round and jump in the open coffin to the underground water section to get the extender mutator from a mini boss and the berserkers crest.

 Anonymous
There is a secret layer in the room with 2 items behind the the wall left


you can not crouch under arrow traps what is this lying bs
0
+13
-1