The Forbidden Grove |
|---|
 |
| The wolf goes unhunted, to the shame of all Pan... |
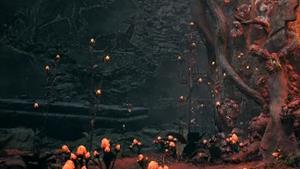
The Forbidden Grove is a Location in Remnant 2. The Forbidden Grove is one of the starting locations of Yaesha and one of the many worlds that can be explored in Remnant 2 and is a returning world from Remnant: from the Ashes. Each Location in Remnant 2 will feature unique landscapes, events, dungeons, Bosses, Enemies, and Items.
Remnant 2 The Forbidden Grove NPCs
NPCs in The Forbidden Grove are as follows:
Remnant 2 The Forbidden Grove Merchants
Merchants in The Forbidden Grove are as follows:
Remnant 2 The Forbidden Grove Items
Items in The Forbidden Grove are as follows:
- Death's Embrace
- Restriction Cord
- Sacred Lakewater
- Brightstone
- Gul Serum
- Oilskin Balm
- Scavenger's Bauble
- Rebellion Spear
- Kuri Kuri Charm
- Blood Jewel
Remnant 2 The Forbidden Grove Enemies
Enemies in The Forbidden Grove are as follows:
Remnant 2 The Forbidden Grove Bosses
Bosses in The Forbidden Grove are as follows:
- Root Nexus boss/encounter; random chance to spawn.
Events and Secret Passages in The Forbidden Grove Remnant 2
Events and Secret Passages in The Forbidden Grove are the following:
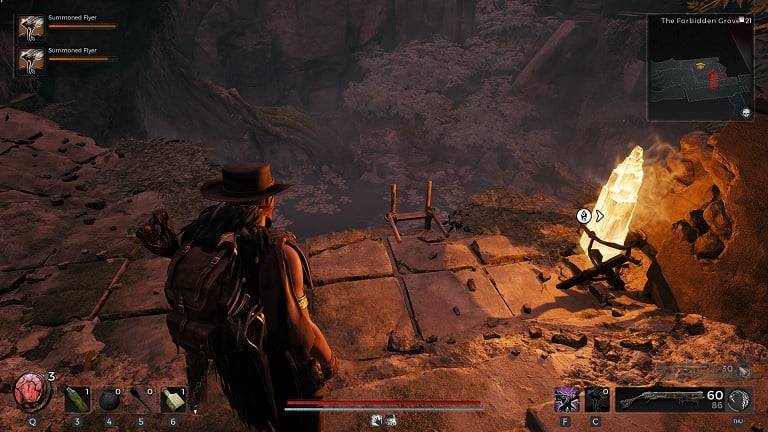
Near The Lost Temple waypoint, there are ladders that lead to the secret pond where you can find Blood Jewel (easier to orient with minimap on picture).
When you descend to the pond, there is path to the left and to the right. Both ends contain loot chest but either one can contain Blood Jewel.

Remnant 2 The Forbidden Grove Gallery, and Notes
- Rebellion Spear is given to the player by speaking with Bedel of the Vaunnt after saving the Doe and defeating the Ravanger
- Other Notes for the The Forbidden Grove go here
 Anonymous
There are two forbidden groves. Starting area and late yaesha area.

 Anonymous
 Anonymous
Why couldn't i have the bridge after putting in the combination and pulling the lever? is there another requirements?

 Anonymous
In the cave underneath and to the left of the bridge I looted the blood jewel ring after clearing some root enemies

 Anonymous
Has anyone tried to play the song of lullaby from the last game? Does it do anything?

 Anonymous
Codes for the Water Harp
To raise the bridge:
5 - 0 - 4 - 0 - 3 - 4 - 1 - 0
For the Bolt Driver handgun:
1 - 4 - 0 - 2 - 5 - 0 - 3 - 0
 Anonymous
annyone else annoyed as all hell that the harp machine keys are pushed the wrong way according to what way the wheel spins? the pegs are pushed away from the players point of view, while the wheel spins towards the player........ i mean.... comeon!

 Anonymous
The solution to the water harp puzzle is in the book next to the World Stone.
It should work if you put the pegs in
column 5 of row 1
skip row 2
column 4 of row 3
skip row 4
column 3 of row 5
column 4 of row 6
column 1 of row 7
skip row 8
xxxxo
xxxxx
xxxox
xxxxx
xxoxx
xxxox
oxxxx
xxxxx

Good to see both statues here bleed, unlike in the widows court where only the ravages one bleeds.
0
+10
-1