Cathedral of Omens |
|---|
 |
|
What would become of the Doe if the ravager were felled? What would become of Yaesha?
|
Cathedral of Omens is a Location in Remnant 2. Cathedral of Omens is a temple to the gods of the Pan, it contains many puzzles and secrets for the player to uncover. There's a unique puzzle here - if you want to discover how to complete the Cathedral of Omens Puzzle in Remnant 2, read on. It's one of the many areas that can be explored in Yaesha. Each Location in Remnant 2 will feature unique landscapes, events, dungeons, Bosses, Enemies, and Items.
Remnant 2 Cathedral of Omens NPCs
NPCs in Cathedral of Omens are as follows:
- None
Remnant 2 Cathedral of Omens Merchants
Merchants in Cathedral of Omens are as follows:
- None
Remnant 2 Cathedral of Omens Items
Items in Cathedral of Omens are as follows:
If Blood Moon event is active :
NOTE: The main indicator that a Blood Moon is active is the reddish tint to light shafts inside the cathedral.
Remnant 2 Cathedral of Omens Enemies
Enemies in Cathedral of Omens are as follows:
- None
Remnant 2 Cathedral of Omens Bosses
Bosses in Cathedral of Omens are as follows:
- None
Events and Secret Passages in Cathedral of Omens Remnant 2
Events and Secret Passages in Cathedral of Omens are the following:
- The Blood Moon puzzle door has behind it a floor panel that only opens when a Blood Moon event is outside. Within are 3 Blood Moon Essence and the Ring of Omens.
Cathedral of Omens Puzzle Walkthrough Remnant 2
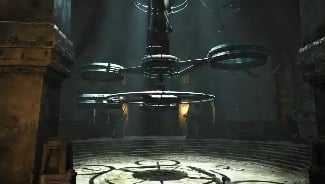
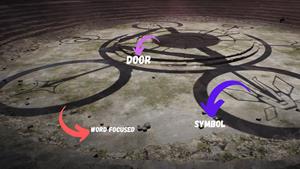
The main puzzle of this level is a gigantic machine that casts shadows on the floor, each shadow corresponds to a deity of the Pan. The Sun, The Moon, Life, Death, The Doe, The Ravager. The central triangle indicates which door the puzzle is currently selecting. You can move the outer circles, creating different patterns and focusing different symbols, and you can also move the inner symbols corresponding to each deity.
Click to enlarge
For the vertical orientation of the door puzzle triangle, the vertex (arrowhead) is the right way up or the top (above), and the hypotenuse is the bottom (below). The two base focus circles attached to the hypotenuse are fixed, and you can move the remaining two. More information about the symbols and how to unlock the doors are found in the library room to the east from where you entered.
The northern room (THE CALAMITY) rewards the Faith Seed. The eastern door (THE BLOOD MOON) contains 2 ornate chests and a secret red trap door which opens only when a blood moon is out (the light rays all around Yaesha have a red tinge to them, with an eclipse in the sky), leading to the Ring of Omens. The center of the puzzle (THE HOPE) contains the Sagittarius bow.
The overall steps to opening a door is as below:
- Find the door you want to unlock.
- Pull the southern lever (next to the entrance) to align the puzzle triangle so that its orientation is the same as the triangle above the door when you face the said door from the center of the puzzle.
- Find the corresponding door triangle orientation in the book and pull the eastern lever (in front of the BLOOD MOON door) to align the required symbols according to their positions mentioned in the book. You should focus on which pair of opposing symbols go into the two fixed base focus circles.
- Pull the western lever (next to the broken BEGINNING door) to change the remaining focus circles to focus on either one or two remaining symbols.
For example, here’s how to get the Sagittarius bow (THE HOPE).
- THE HOPE is the symbol on top of the entrance into the puzzle room.
- THE HOPE’s triangle is facing top-right. Keep pulling the southern lever until the puzzle triangle faces top-right when you look at THE HOPE door from the center.
- THE HOPE section on the book mentions four symbols: THE DOE and THE RAVAGER, SUN, and LIFE. LIFE and SUN are below THE DOE. Therefore, the symbols of THE DOE and THE RAVAGER should be inside the base focus circles, with LIFE and SUN symbols anywhere below THE DOE. Pull the eastern lever accordingly.
- With THE DOE and THE RAVAGER already in the base focus circles and LIFE and SUN already below THE DOE, what’s left is to pull the western lever to focus the remaining two circles on LIFE and SUN.
For THE CALAMITY door, THE DOE and THE RAVAGER pair should be inside the base focus circles from below, and DEATH should be inside one movable focus circle from above, so the other movable focus circle should overlap with one of the base focus circles.
For THE BLOOD MOON door, the SUN and MOON pair should be inside the base focus circles from above with THE RAVAGER inside one focus circle below.
Combinations:
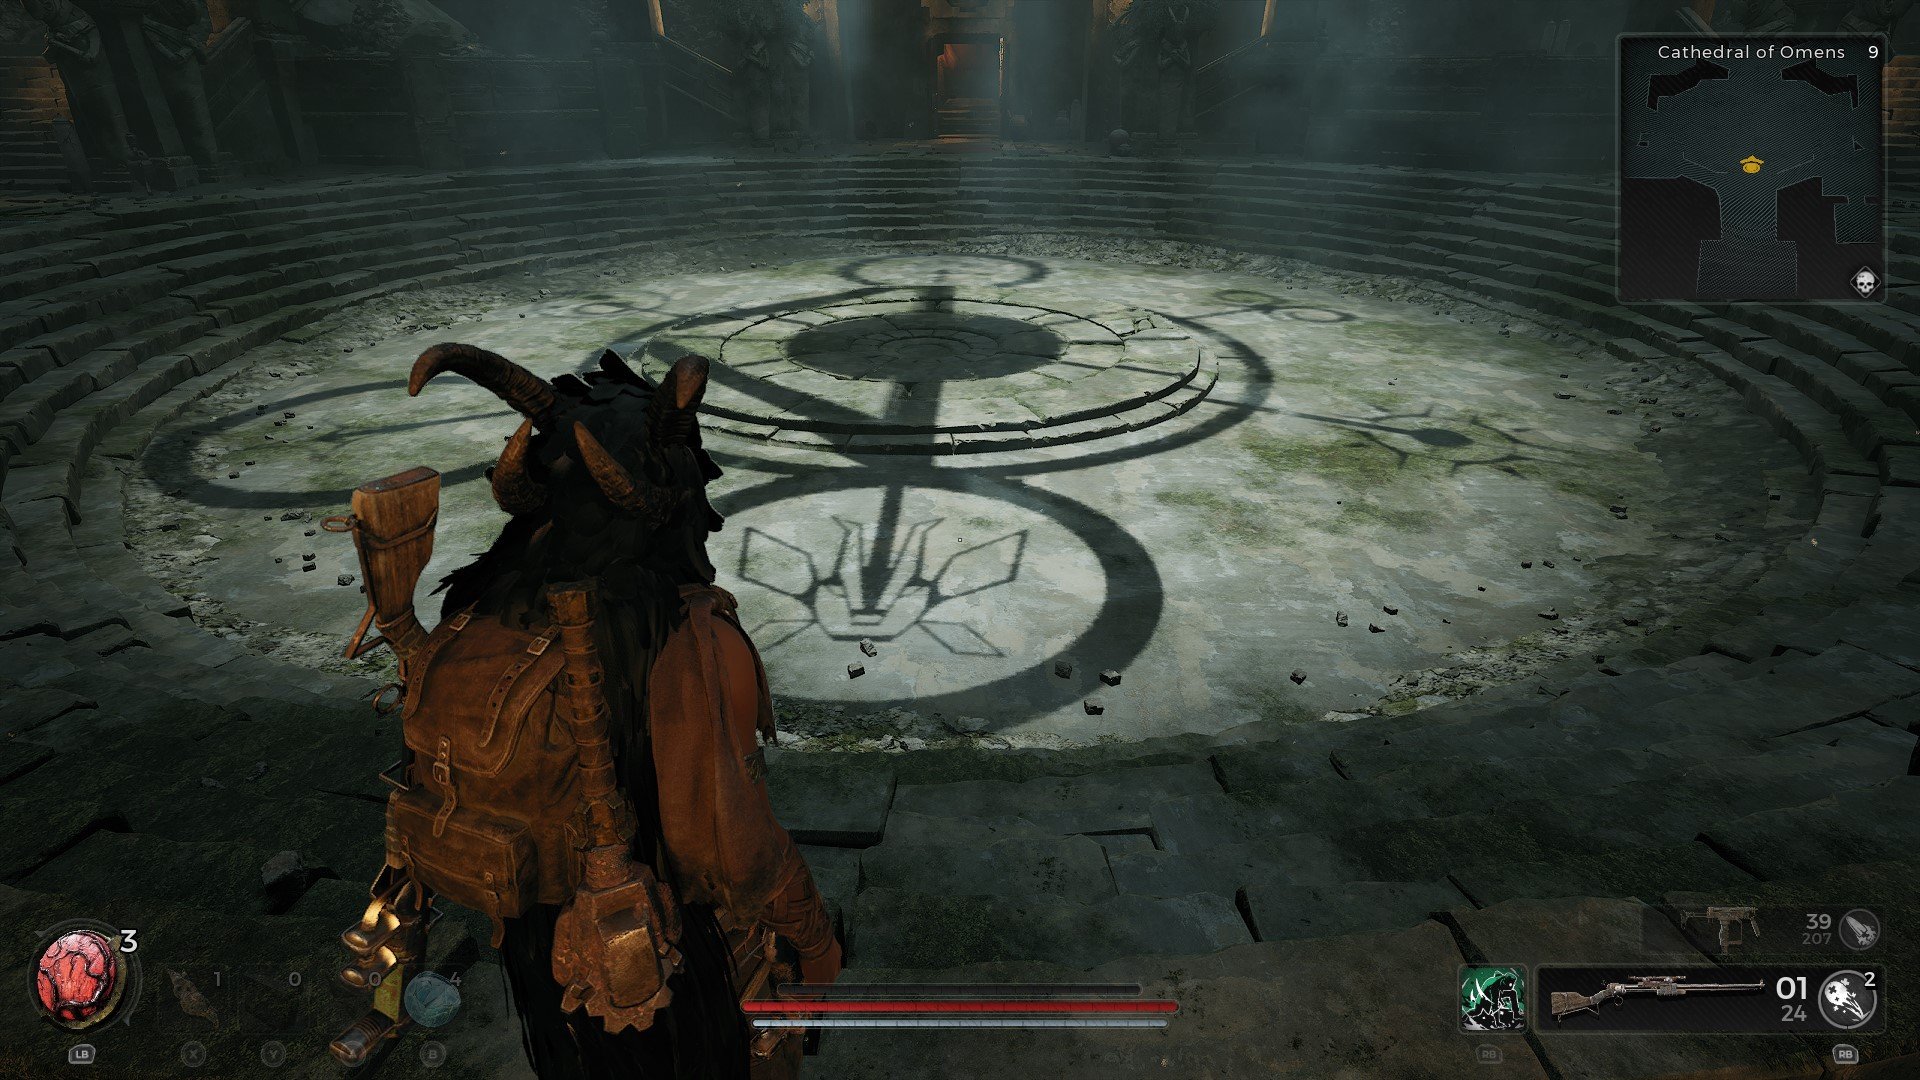
THE CALAMITY
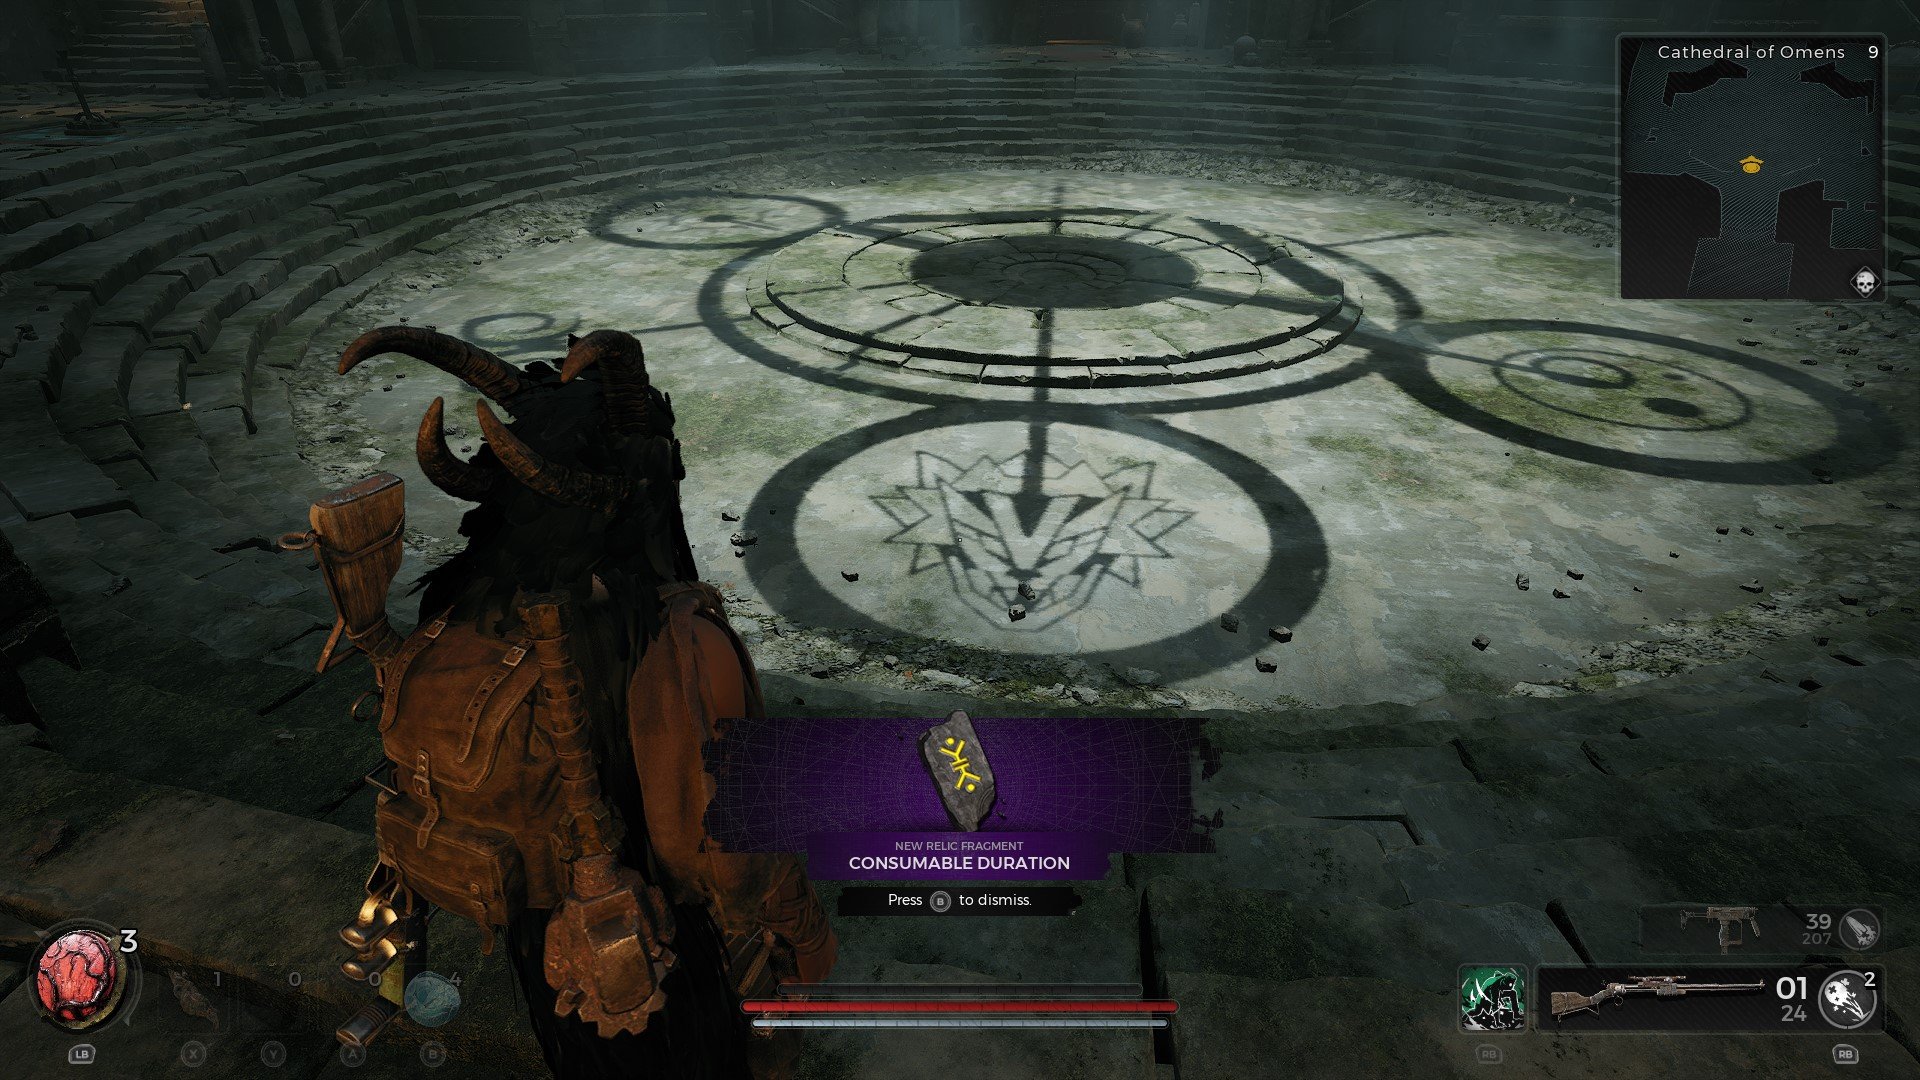
THE BLOOD MOON
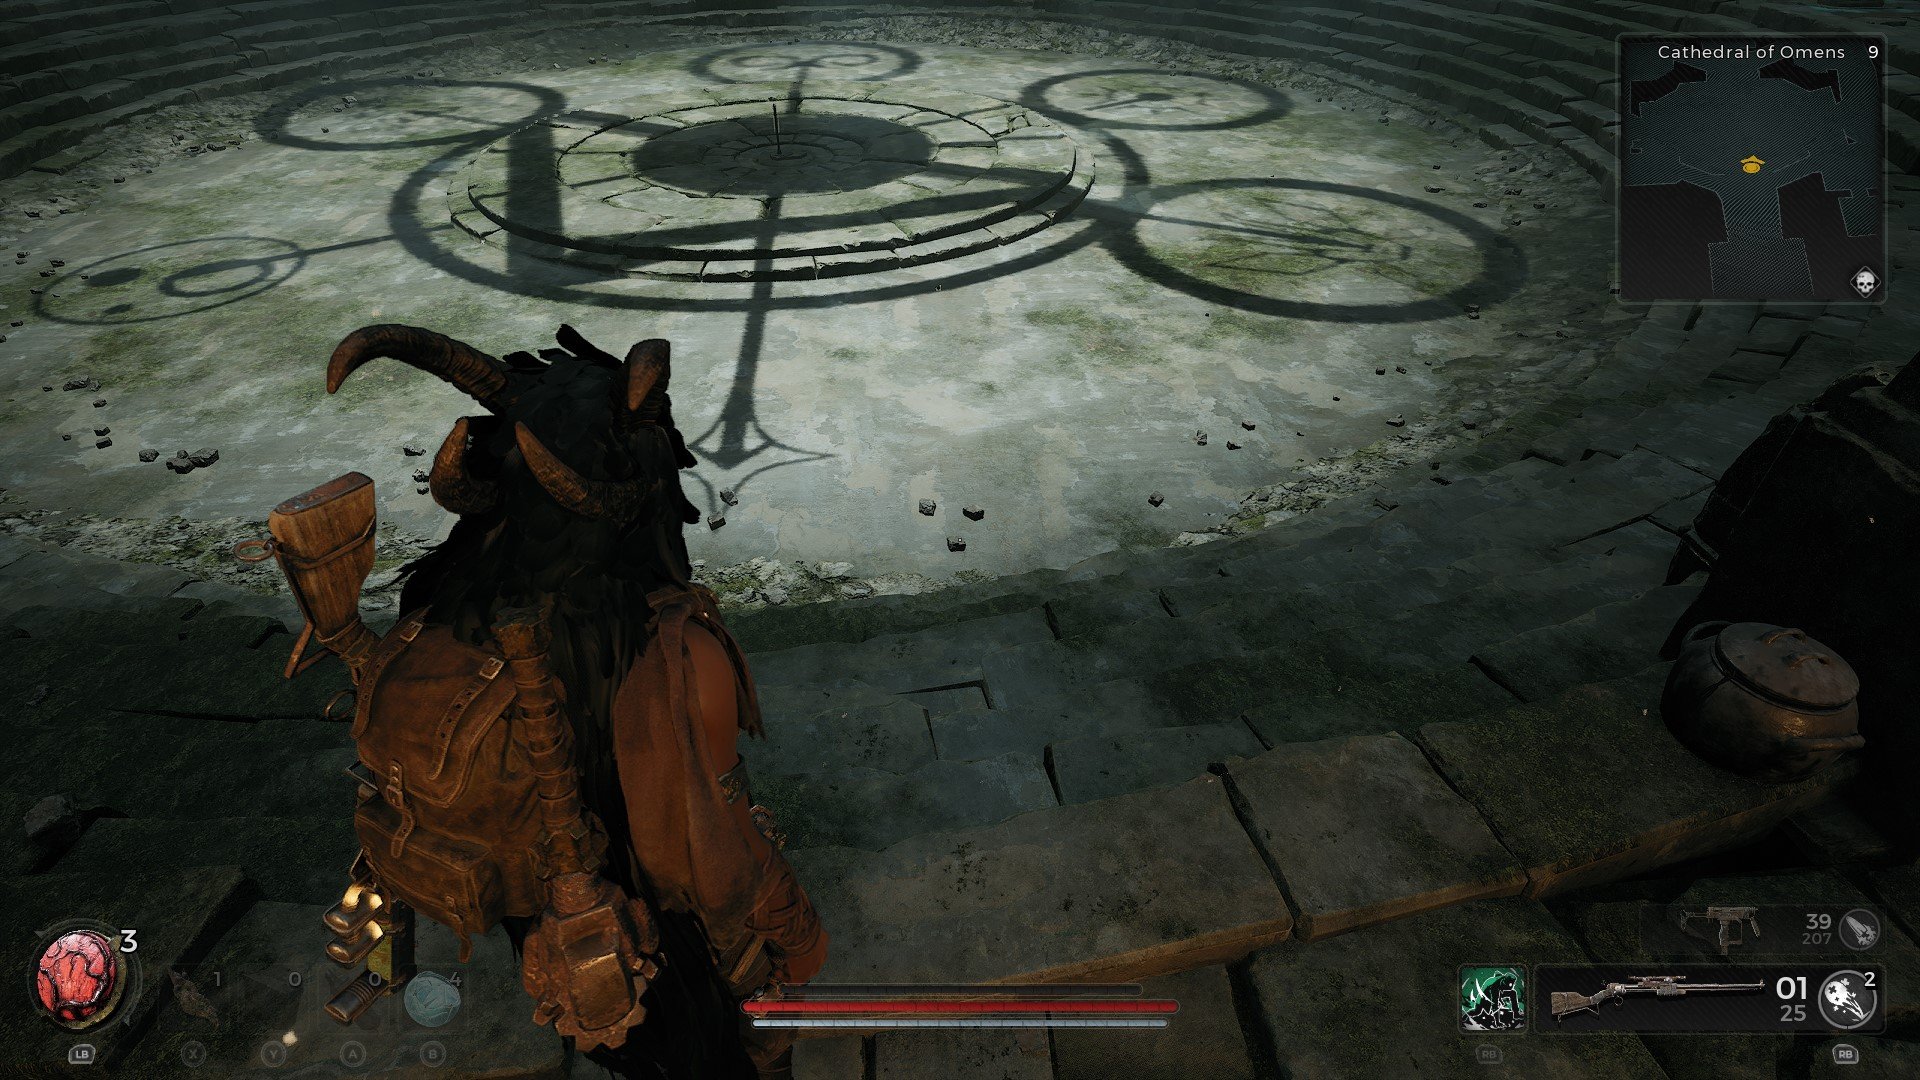
THE HOPE
 Anonymous
you know a puzzle is obnoxiously confusing when the guide (with pictures) is nearly impossible to follow.

 Anonymous
God I hate this puzzle, I essentially did the first one correct but the game never makes it clear where the symbols need to line up from. I thought for the Ravager the wolf head needed to be near the door I was trying to open. I come here and everything needs to line up from the way you entered.

 Anonymous
For the least amount of lever pulls, complete picture 1 then 3 them 2. That will also leave the blood for open for when you get the blood moon.

 Anonymous
Holy **** I hate this game solely because of the puzzles. I am okay with puzzles but this is not a puzzle game smh. I always stuck at a puzzle and it disrupt the flow of the game. I swear the first remnant game isn't this annoying

 Anonymous
If you're having trouble getting the Bloodmoon one to activate while having a bloodmoon, swap the position of your sun/moon and adjust the lower triangle.
Just had a minor headache trying to get it to work despite having a bloodmoon until I tried that.
 Anonymous
I don't know if there is a difference between versions/consoles and such, but I did this on PC.
I OPENED EVERY DOOR IN ADVENTURE MODE, INCLUDING BLOOD MOON TRAP DOOR.
Just thought I'd let you know so you don't get fooled by those who say otherwise. (I even have screenshot proof)
The trapdoor only opened once, but the door to the trapdoor opened twice, first without blood moon, and then during blood moon
 Anonymous
Tried for the ring for 3 hour on adventure mode. Kept being bugged. Finally said screw and let me check my campaign since I had it on there. Got it on my first blood moon

 Anonymous
The Trapdoor doesn't open for me even in a new run with an active bloodmoon. Did I miss something or did the game just bug out for me?

 Anonymous
For me it looked like this.
I started in Forbidden Grove. I ran about 15 times. I didn't kill the barefoot (big tree). I ran to it and took the first passage on the left. Straight ahead I had a door with a main mission. It took me to The Twisted Chantry. I'm going inside and out. I turned left along a narrow path (I did not enter the square with a tree) and there I had the entrance to the Cathedral of Omens. There were only two entrances on the map. When rolling the location, I didn't take breaks for a few seconds, I rolled immediately. I didn't have a blood moon after entering the Cathedral. I went through the passage between the locations about 6-7 times and a blood moon appeared. Good luck. The whole thing took me about 1 hour 10 minutes
https://www.youtube.com/watch?v=JjgyylEEjqY&t=441s
Made this to hopefully make something that is a bit easier to follow lol
 Anonymous
I did open the Blood Moon door outside a Blood Moon, so obviously, the trapdoor was locked when I entered. BUT :
I decided to still give it a shot and closed the door by pulling any lever before moving out of the Cathedral of Omens to do some stuff on the side until I spotted a Blood Moon. Then I came back and after reopening said door, the trapdoor opened.
I think that if you leave the Cathedral of Omens with the Blood Moon room opened, the trapdoor will remain shut (although, I agree it still should open during a Blood Moon). Just make sure to leave the Cathedral with the room closed before going out/in and the trapdoor shall work when you reopen it.
 Anonymous
So I finally found the cathedral in The Forbidden Grove starting zone. Took me about 50 rerolls and 10 quick runs through The Forbidden Grove. There are always only 2 doors in here. One will be your primary objective (cannot be cathedral), so there is no reason to check that one. Just run straight to the other one and see if it's the cathedral. If not, then reroll campaign.
Note: The Root Nexus was also spawned in the forest along with the Cathedral.
Now for the blood moon part. I found the Cathedral around 18:50 and teleported back and forth to Ward 13 while researching up a bit on how to spawn it. No luck. Around 19:10 I started teleporting from Cathedral to Root Nexus. and from Ward 13 to Root Nexus. No luck.
At around 19:16 I decided to kill the Root Nexus to see if it made a difference. After defeating it, I teleported to Ward 13 and at 19:19 back to the Root Nexus. It was blood moon! From this point I just ran (didn't use blood stone) to the cathedral and I could get the ring.
I have no idea if those events are linked or it was pure coincidence that the blood moon appeared after defeating the Root Nexus, but after so many tries it definitely seemed linked, to have it on first try after beating it.
I somehow managed to open to blood moon gate first, so I wasn't required to have blood moon active to do some tests. At this point I teleported back to ward 13 and to cathedral etc to force it to go away. However, the blood moon stayed active and for 15 more minutes atleast. I came back and finished the last 2 puzzles in the cathedral, went to Ward 13 and back to Root Nexus and now the blood moon was gone. My blood moon experience lasted about 30 minutes.
Hope this helps someone!
 Anonymous
Make sure you do this puzzle DURING a blood moon. If you opened the blood moon door without there being an active blood moon you can't come back and reopen it. Has to be a fresh dungeon

 Anonymous
there are no cardinal directions in this game so please refrain from labelling things with them.

 Anonymous
Bloodmoon door only opens up in campaign from what I've tried.

 Anonymous
There may be a fourth Combination to be done its found in the book where the chest rewards are after the Ravager boss encounter. Two of them are the same then one replaces the Bloodmoon from the Cathedral's book.

 Anonymous
What do the symbols mean? What is life? Which one is death? What is the sun? Why is there no image key?

 Anonymous
Why doesn't the triangle align with the central door? It's off center? Wtf?

 Anonymous
For people struggling to find the Cathedral location like I did, this is what worked best for me:
Re-roll Yaesha until you get The Forbidden Forest. Run through this forest and check the directly attached portals. One of them can immediately go to the cathedral. If it doesn't, just re-roll The Forbidden Forest again and run through it.
For the blood moon you can enter the Cathedral and exit through the orange portal into the forbidden forest again. Keep doing this until you see the blood moon then enter the cathedral and enjoy the blood moon door.
Note: this re-entering can take a bit so don't give up hope!
 Anonymous
This took me two goddamn hours WITH guides and many misleading comments until I finally understood what my problem was.
#### ANOTHER HINT ####
The symbols above the doors themselves are clues where to point the big center triangle. DON'T point the triangle AT the door you want to open, point it towards the direction on the symbol above the door. Example: You want to open "The Calamity" puzzle from the book, the triangle is pointing to the left side. Stand in the middle of the room, looking at the door with the triangle symbol pointing left. The big triangle on the ground needs to point left.
The rest should be clear from the comments here. Calamity has Ravager, Doe, Death in bold letters, use the other two levers so only Ravager, Doe, and Death got circles around them. There's two positions that match for every puzzle, so if it's not working try the other one by flipping your solution 180° (use the symbol lever three times, then match the circles).
 Anonymous
Here's a quick easy cheat sheet. Lever positions (Left, Middle, Right) are as viewed from the entrance:
First Sequence
Puzzle for Rear-Center Door
Reward: Faith Seed
Left 5x
Middle 3x
Right 1x
Second Sequence
Puzzle for Right Door
Reward: 2x Chests & Ring of Omens (during Blood Moon *in Campaign mode*)
Left 1x
Middle 4x
Right 3x
Third Sequence
Puzzle for Center pedestal
Reward: Sagitarius Bow
Left 2x
Middle 3x
Right 4x
 Anonymous
This wasn't super clear to me at least, so let me elaborate on how this puzzle works:
- You have 3 levers.
- One controls the triangle
- One controls the Symbols
- Last one controls two additional rings
- The key is to stand directly in the center of the circles, look at the door you want to open and align the triangle to match that door as the first thing.
- From this point, you have to read the book in the library and check for your triangle position
- Once you found the position (for example, triangle pointing top left) the book in the library will share 3 symbols. That could be DEATH, DOE, RAVAGER
- Now you start moving the SYMBOLS lever, and place 2 of the 3 symbols into the triangle circle shadows (So one on each side)
- When the first two symbols are in place, you go back to the last lever, the lever that controls the two additional rings. One of these rings needs to cover the 3rd symbol, and the other ring must cover one of the existing symbols, already covered by the triangle shadows
Hope this helps. Good luck!
 Anonymous
Let me try to give an explanation in a way I'd understand it now that I fully grasped how the puzzle works.
The basic concepts I think are clear from the explanation above. Look at book, figure out which symbol is which deity and what kind of constellation are needed.
One thing that tripped me up is "above" and "below" - the two slots below the hypotenuse (the longer side of the triangle) are considered below, the once on the catheti (the two shorter sides) are above. No matter the orientation.
In the very center of the room there is a small indent. From there look at the door you want to open. You have to align the triangle with the position above the door. Your viewpoint is the center of the room. Not the position of the switch that rotates the triangle.
Finally, pay good attention to the entry way once you're on the center of the room. There is a reason why the book has 3 "constellations" in it even tho it seems like you only need two.
 Anonymous
I found this olace once and cant find it again lost forever

 Anonymous
Does the blood moon door only open once? It won't reopen for me :/

 Anonymous
 Anonymous
Do I need to reset the puzzle using the stone everytime I open a door, once I did the first one I couldn't get any of the other ones to open?

 Anonymous
The "trap door" in the ornate chest room is a Blood Moon door which will open when you approach it during a blood moon.
The ring of omens is under that.
For the other door to the right, the book says something about the sun, moon and ravager. The key with the arrow in the middle is to line it up with the one above the door.....but not lining from the entrance, you need to face the door you want to open and line up the arrow that way. So facing the right door, if the arrow is facing the top left, that's where your arrow will be pointing, then you just put sin moon and ravager in the circles.

There’s also a bow that lifts from the middle if the triangle is facing bottom left corner with life and sun behind the triangle and covered with rings. All this facing in from the entrance


Oh, someone added pictures of the solutions. Thank you!
20
+11
-1