Imperial Gardens |
|---|
 |
|
|
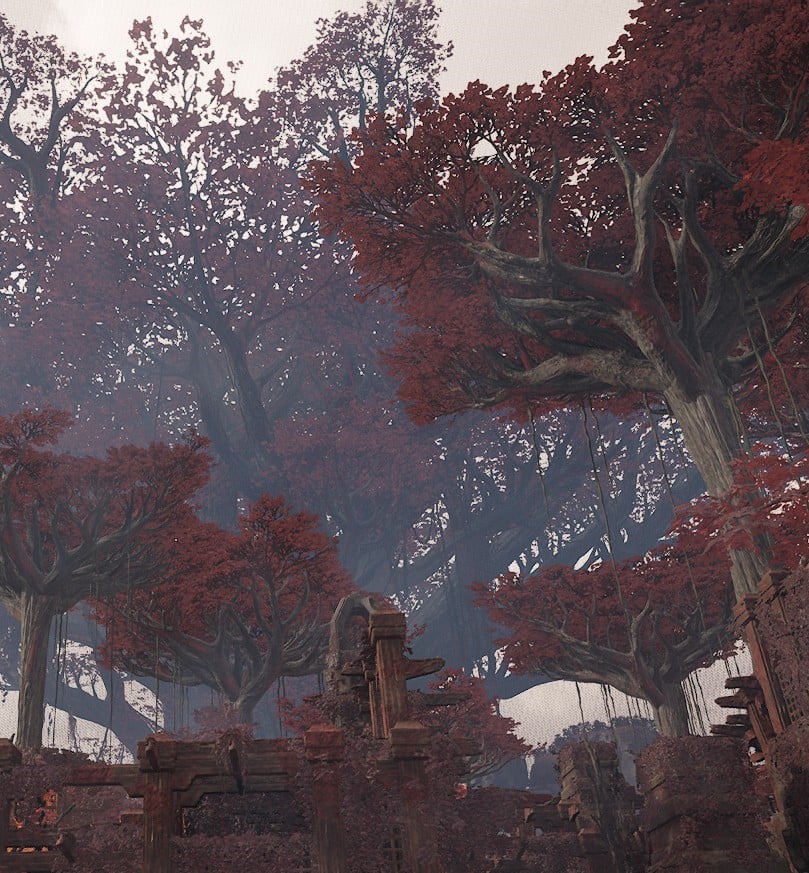
Imperial Gardens is a Location in Remnant 2. Imperial Gardens is a location found within Yaesha. Each Location in Remnant 2 will feature unique landscapes, events, dungeons, Bosses, Enemies, and Items.
Remnant 2 Imperial Gardens Items
Items exclusive to the Imperial Gardens are as follows:
- Crossbow - Found by solving the puzzle within the ruins.
- Edge of the Forest - Melee Weapon, placed randomly on one of several podiums scattered around the ruin.
- Full Moon Circlet - In a hidden room below a trapdoor marked with a golden full moon crest. This only opens during a Blood Moon.
Randomly placed within the location will also be the following:
- 1 Tome of Knowledge
- 1 Ring or Amulet from Yaesha's random loot pool
Injectible Events
Locations in Floating Forests will randomly contain one of the following rooms:
Remnant 2 Imperial Gardens Enemies
Enemies in Imperial Gardens are as follows:
Remnant 2 Imperial Gardens Bosses
Bosses in Imperial Gardens are as follows:
Remnant 2 Imperial Gardens Walkthrough
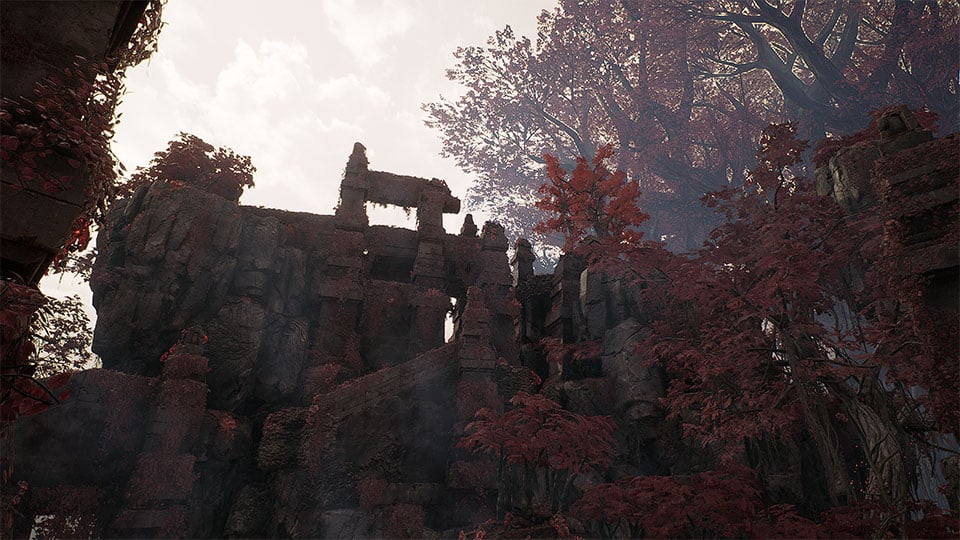
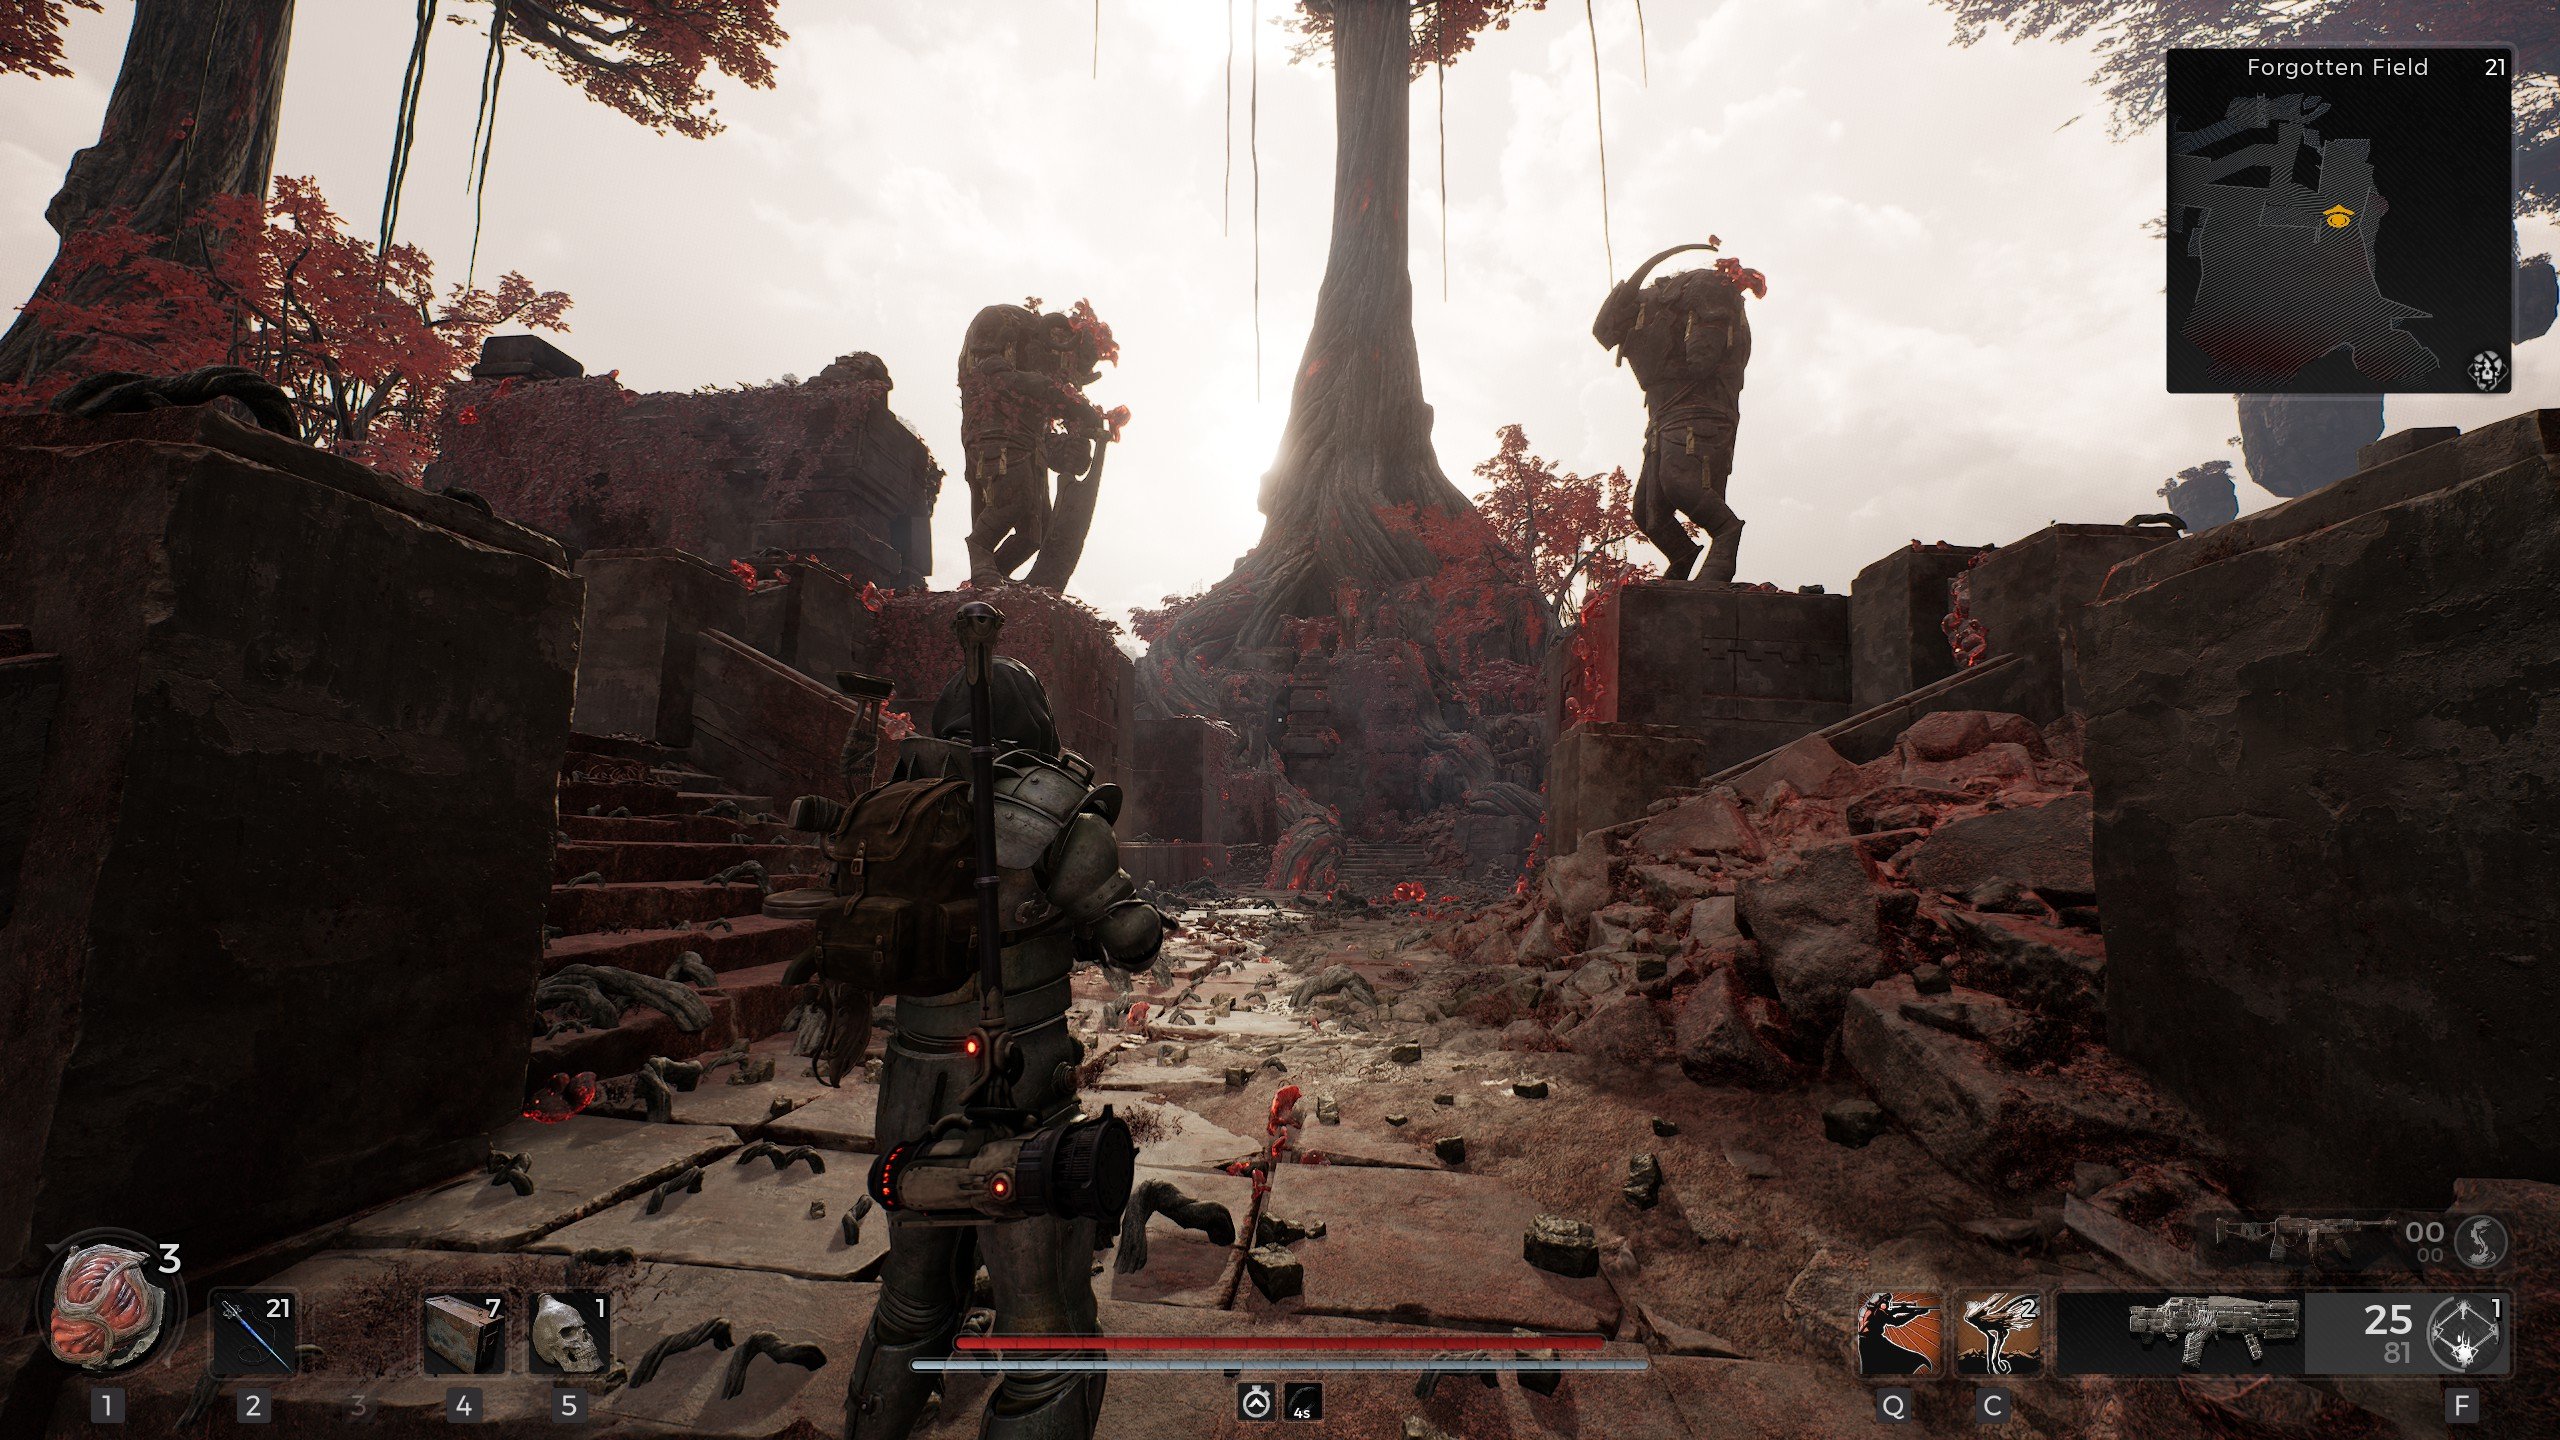
Upon entering you will find yourself in front of a large ruin, which is the main room of this location. It is patrolled by several Empowered Slayers and Root Slashers, as well as Mantagora, a Root Moth Aberration that will remain idle as long as it is not attacked. Several paths are blocked by destructible Root growths, but exploration will not yield much.
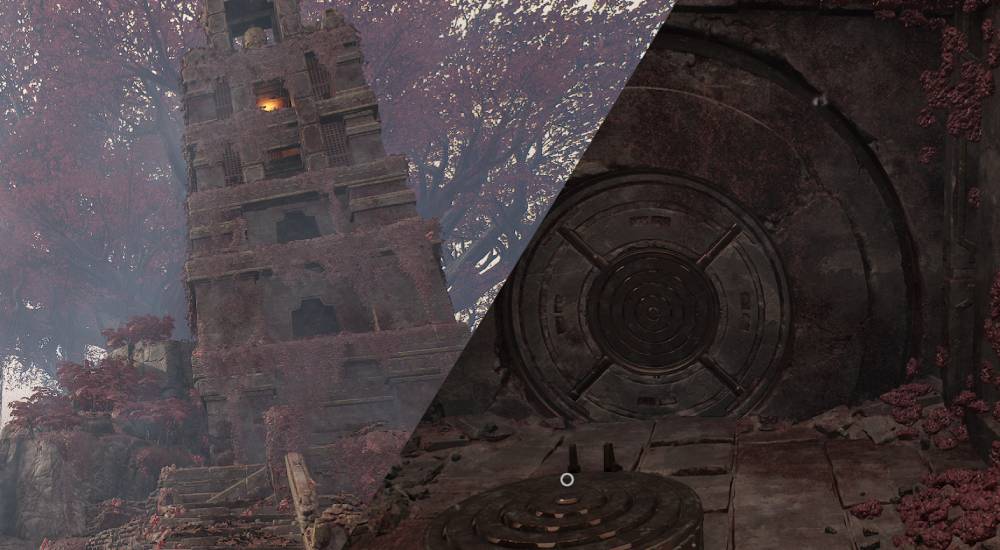
The ruin's front door is locked, so you cannot enter. To reach the top, you must traverse the location by following the path towards the right. Doing so will lead you to the other side of the ruin where you can find a small World Stone. From this side, you can enter and climb to the top, where you will find a rune dial puzzle. The stairs lead down to the locked door, which can be opened from this side.
Imperial Garden Puzzle Solution
To solve the puzzle in the ruins, you have to explore the area and look for four blue symbols scattered around. Input these four symbols on the dial within the ruins to open up a ladder going down to the Crossbow. The order you put them in does not matter, so long as all four align with the central arrow pointing up. The four symbols you need are the same for each run. They are:


Blood Moon Trapdoor
If you enter the Imperial Gardens while a Blood Moon is active, you can seek out a path towards the left of the ruin's entrance. You will find a trap door with a golden full moon crest, patrolled by an Empowered Slayer. With the Blood Moon active it will now open, granting access to the Full Moon Circlet.
Remnant 2 Imperial Gardens Gallery, and Notes
- Other Notes for the Imperial Gardens go here
 Anonymous
There’s another dial puzzle through a hidden wall just underneath an elevator at the opposite end of the ruins (farthest from the entry door). Lifting elevator without taking it up then looking at the column that raises gives the solution. Led to blooming heart relic.

 Anonymous
Looks like if you make it to the top for the crossbow puzzle, if you have a Blood Moon still active, it automatically unlocks. Did for me just now

 Anonymous
Look up at the sky. You will see a huge version of those Root Moths flying around. It doesn't attack you right away or aggro, but flies around everywhere.
If you manage to kill it, you get a Mutator called Momentum.
"When this weapon scores a Critical Hit, it increases Critical Chance and Critical Damage by 1.5% for 3s. Max 10 stacks."
"Level 10. Critical Hits from this weapon adds 2 stacks. Increases duration by 2s."
 Anonymous
Yeah, my symbol callout was.
Deer
Sword P*nis
Potion Bottle
Cyclops Karen
Just thought I'd share
 Anonymous
Secret room starting area : First left side branch has secret area under circle symbol near stairs. Possibly triggered by archer's arrows (having problem reproducing it. Perhaps the arrow needs to hit inside the circle, or elsewhere) Side note - archer here can be useful for some early farming.

 Anonymous
I don't believe this place can spawn on every save file. 11 hours of rerolls and it hasn't appeared once.

 Anonymous
It seems like most if not all Yaesha random items (rings, amulets, etc?) can be found here in chests or just on the floor in some places. I also found Talisman of the Sun in a chest at the end of a platforming area. For me it was about as far as you can go directly straight from the worldstone. There were actually 3+ chests rewarded for platforming in the general area so I'd recommend being thorough if you're really looking for it.
I also found Stone of Balance (random spawn) close to where you first encounter Mantagora. It was next to a Pan skeleton at the small detour that became a dead end due to the bridges being destroyed. If you're still unsure if you're in the right spot then I have another way that should work for PC players provided the randomness of the maps doesn't change the spacing too much. Open the map while near the dungeon entrance (your location actually matters) and zoom in all the way on the entrance door then zoom out one time (with scroll wheel hence PC) and then line up the rhombus which indicates the previous area was 'Explored' such that the left corner is slightly left of the horizontal center of the world stone. With that zoom level and line up the closest piece of land that the top corner can overlap should be almost exactly where it spawns. Probably wouldn't work for certain non-16:9 aspect ratios.
 Anonymous
found an amulet called Talisman of the Sun after completing a jumping area?

 Anonymous
getting mad for the red room: I haven't the Imperlial Garden on my Campaign, so I ran an Adventure and found it.
Blood moon in the sky, the trap door stay closed... any extra clue?
 Anonymous
There is no second checkpoint or double boss fight in my version

 Anonymous
in my run, there are two puzzles with symbols here. there is a tower at the back of the map and below it is a secret room with another symbol puzzle. to solve it, you must step on the elevator that goes up the tower and then step off. at distance, you can see the symbols on the side of the elevator through the gaps in the tower. these symbols are the answer to the secret puzzle at the back.
the symbols in the entry above are the same as the symbols dotted around the map for me, not on the elevator. those symbols are for the puzzle in the temple ruins in the middle of the map.
 Anonymous
 Anonymous
Found a Ring, Hardened Coil, in a little room past the double boss fight against the shooty/sniper type enemies.
Top right of the map, oriented with the dungeon entrance to the bottom.
Ring:
Reduces all incoming damage by 3% for each 10% of missing Health. Max 15% reduction.
 Anonymous
In the tower with if u send the elevator up and stay down ull see symbols on the side as it goes up. Anyone know if u use em anywhere?

 Anonymous
Found Slayer's Crest amulet in a chest at the top of a tower here. Just take an elevator up and its right there

 Anonymous
 Anonymous
 Anonymous
 Anonymous
Found "Stalker's Brand" amulet.
Gain 10% Ranged and 15% Melee damage. Bonus doubles versus enemies not targeting wearer.
 Anonymous
There's a flying boss here called Mantagora (big version of the butterflies commonly found in other areas) which flies around the map and bombards you from time to time or summons adds. It dropped a mutator called Momentum, increasing crit chance and crit damage on crit stacking up to 10 times.

 Anonymous
Theres also a blooming heart in a puzzle through a secret door under the big elevator with the 4 symbols on it.
Its in the middle under the split staircase just before the elevator.
Blooming Heart: On use heals for 35% of Max health over 5s
Spawns 3 Healing Orbs which grant 35% of caster's Max Health over 5s Orbs last 20s
Recasting removes previous Orbs.
 Anonymous
Crossbow Puzzle found in the center of ruins part of the map. Symbols for Dial puzzle are found throughout ruins and correct sequence are to be entered into Dial from farthest to closest.

 Anonymous
Found Edge of the forest, full moon circlet and the crossbow in this area

 Anonymous


are there blood moon bugs in imperial gardens ? i want get Full Moon Circlet
1
+10
-1